Our Marquee Widget allows you to add different images text, and buttons to give your page that extra pop!
Here is your buttonOur Marquee Widget (shown above) allows you to show a large image or a Carousel of slides with different headings, content and buttons!
Here is how it works:
-
First you will need to add a row before you drop in your Marquee Widget. To add a row: click on the "Add Row" option above the editor, or click on "Row" from the editor "Add a section." You can also right click and open the WordPress Menu and add a row from there.
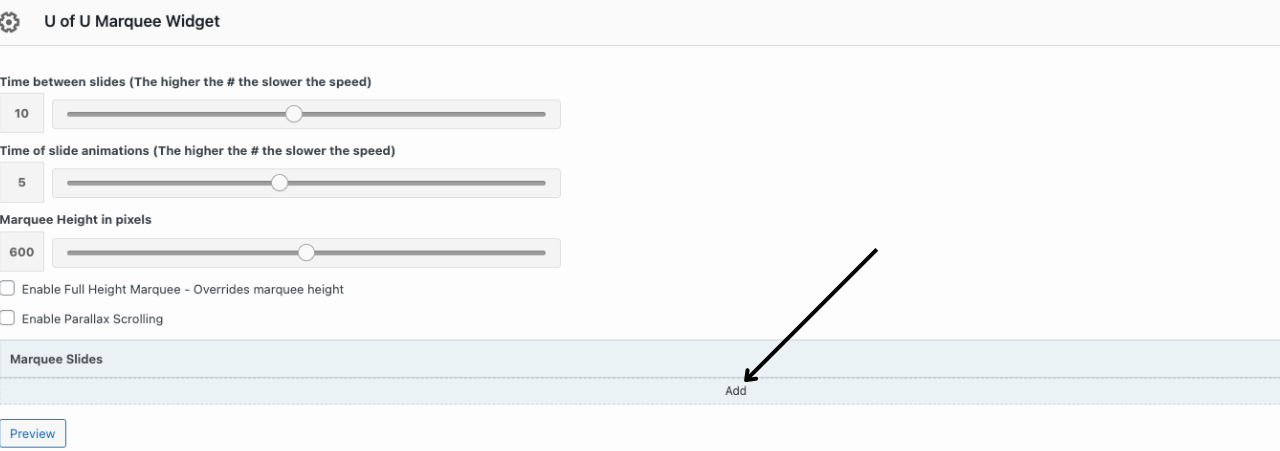
- Now you can add slides to your marquee by clicking the "Add" button

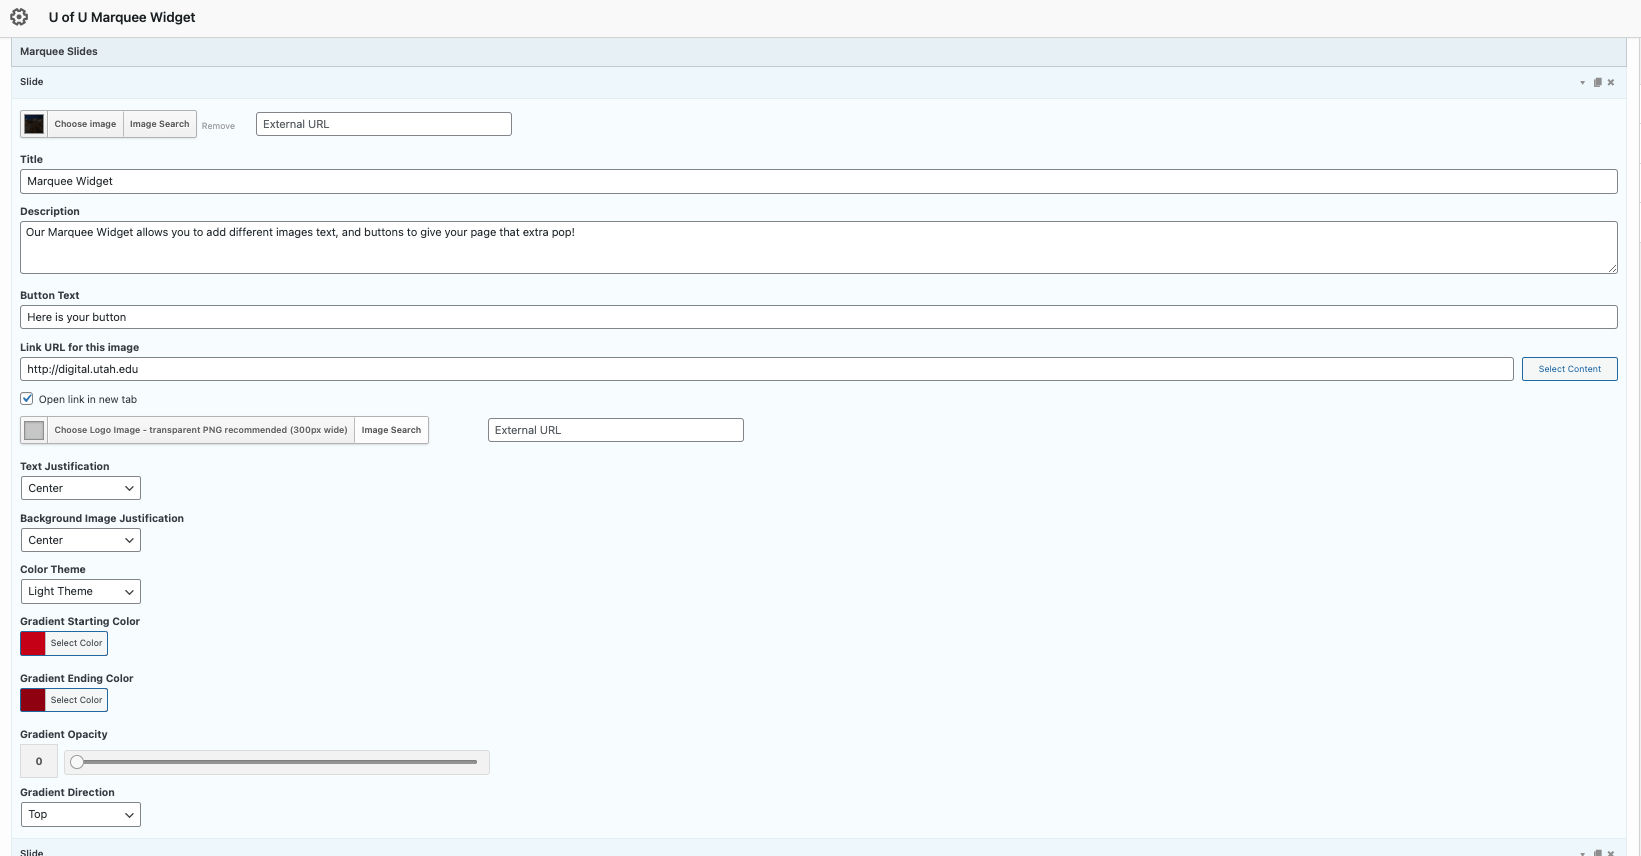
2. Click the dropdown arrow in each slide of the widget and you will reveal this menu. From here, you can adjust the marquee height, time between slides and parallax scrolling, which creates an effect where your marquee image will scroll at a different speed as the foreground of your site.

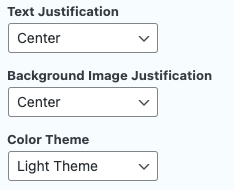
You can also adjust the color gradient which will appear over your marquee image. Depending on the color of your marquee background, you adjust between a "light theme" and "dark theme," which will adjust your marquee text to ensure it doesn't disappear into the background.

If you would like to preview your widget before publishing it to your page, be sure to hit "Preview" in the top right corner of your WordPress page. To make your updates live hit the "Publish" button near the top right corner of your WordPress window. As always, make sure to abide by the University's brand guidelines.
